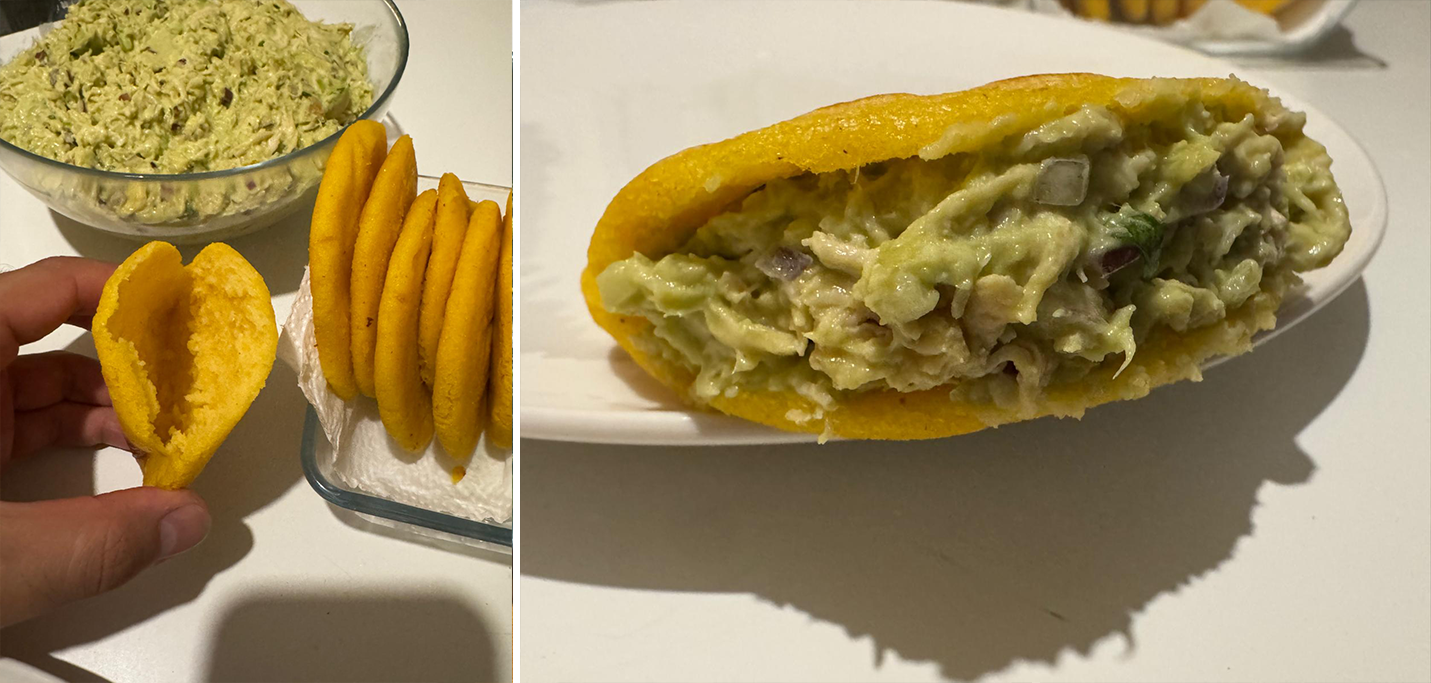
Arepas & Reina Pepiada
While the basic recipe for arepas is no secret, getting them right is all in the technique. Through some refinement, I’ve locked in the key indicators for crisp, golden crusts every time. Stuffed with rich Reina Pepiada, it’s one of my favorite comfort foods to share with friends and family
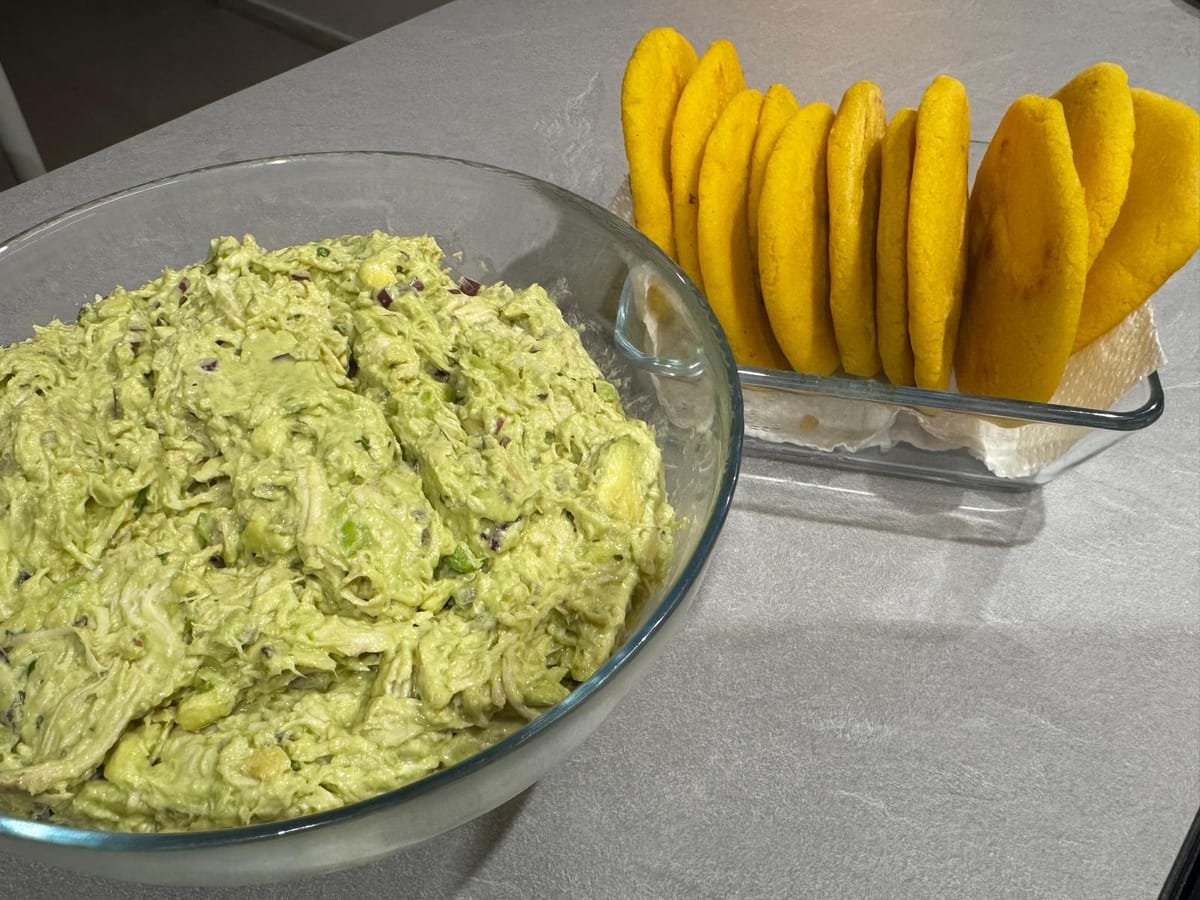
While both Colombia and Venezuela claim paternity of the arepa, the Reina Pepiada is Venezuelan, where it stands as easily their most iconic version. When it comes to American cuisine, I am particularly curious and eager to learn (after all, without the Americas, so many of the ingredients we cultivate and worship today simply wouldn't be the same).
The reason this recipe earned a permanent spot here is simple: a Venezuelan friend first introduced me to it, and more importantly, it is delicious!
A few words on Harina P.A.N.
Harina P.A.N. is the gold standard for making authentic arepas. Pre-cooked, finely ground yellow or white corn flour, it yields a soft, cohesive tough within minutes just by adding water and salt.
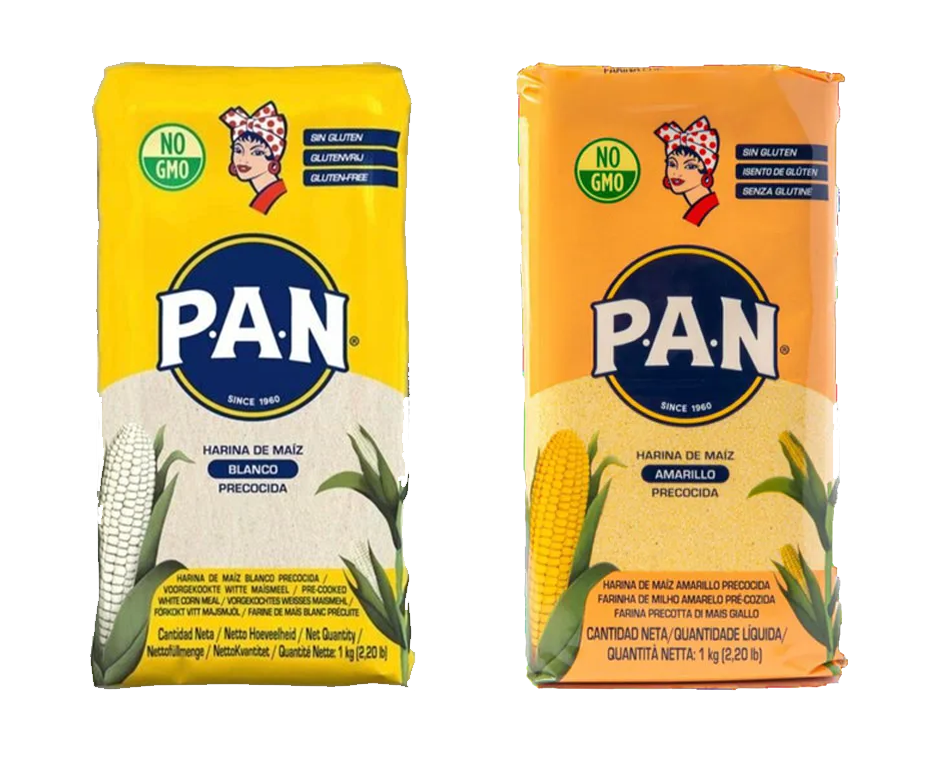
I prefer using the yellow variant, but either will work great.
Because the corn is parcooked before milling, it absorbs moisture immediately without needing long rest times or traditional masa prep. It’s what gives arepas their signature crisp, golden exterior and tender interior.
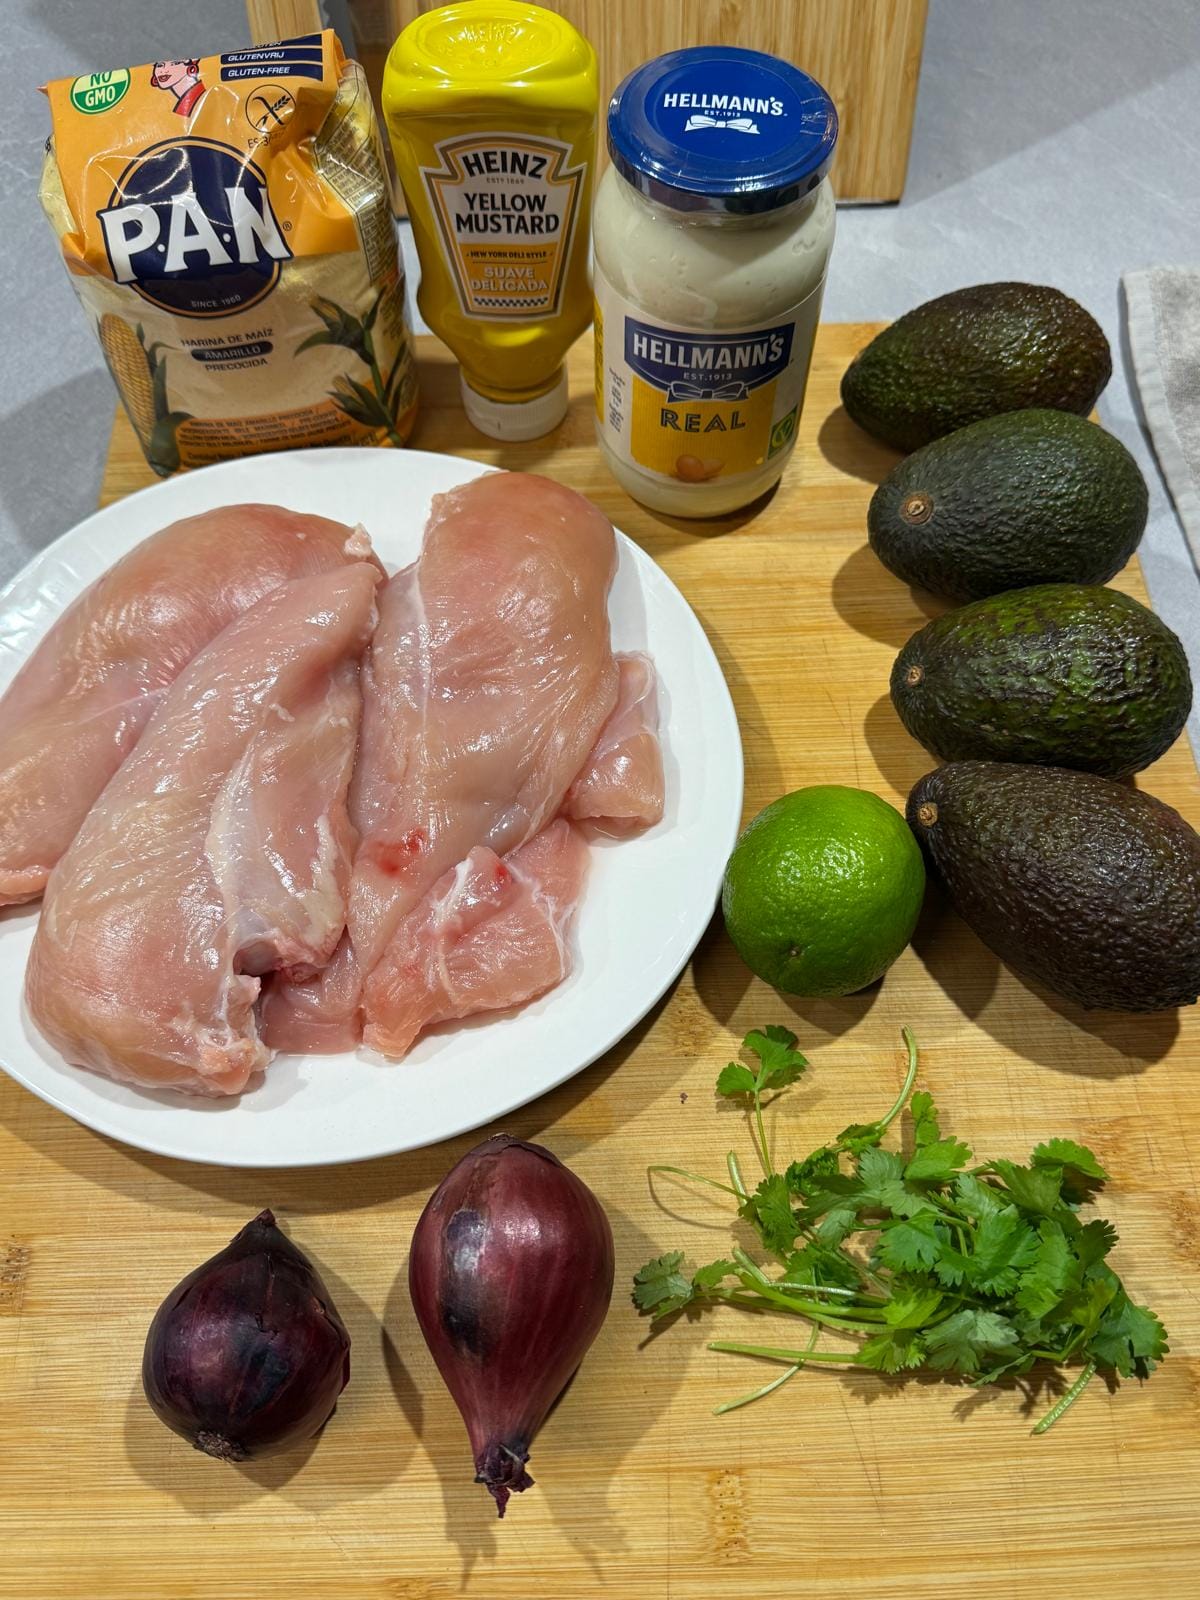
Ingredients (for 12 Arepas)
- Harina P.A.N. (2.5 cups)
- Water (2 cups)
- Salt
Ingredients – Reina Pepiada (for 4 people)
- Chicken breasts (2)
- Avocados (4)
- Mayonnaise (5 tbsp)
- Red Onion (1)
- Lime (1/2)
- Coriander leaves
- Salt
- Mustard
Preparation – Arepas
- Mix in a bowl in equal parts water and Harina P.A.N. with 1 tsp of salt.
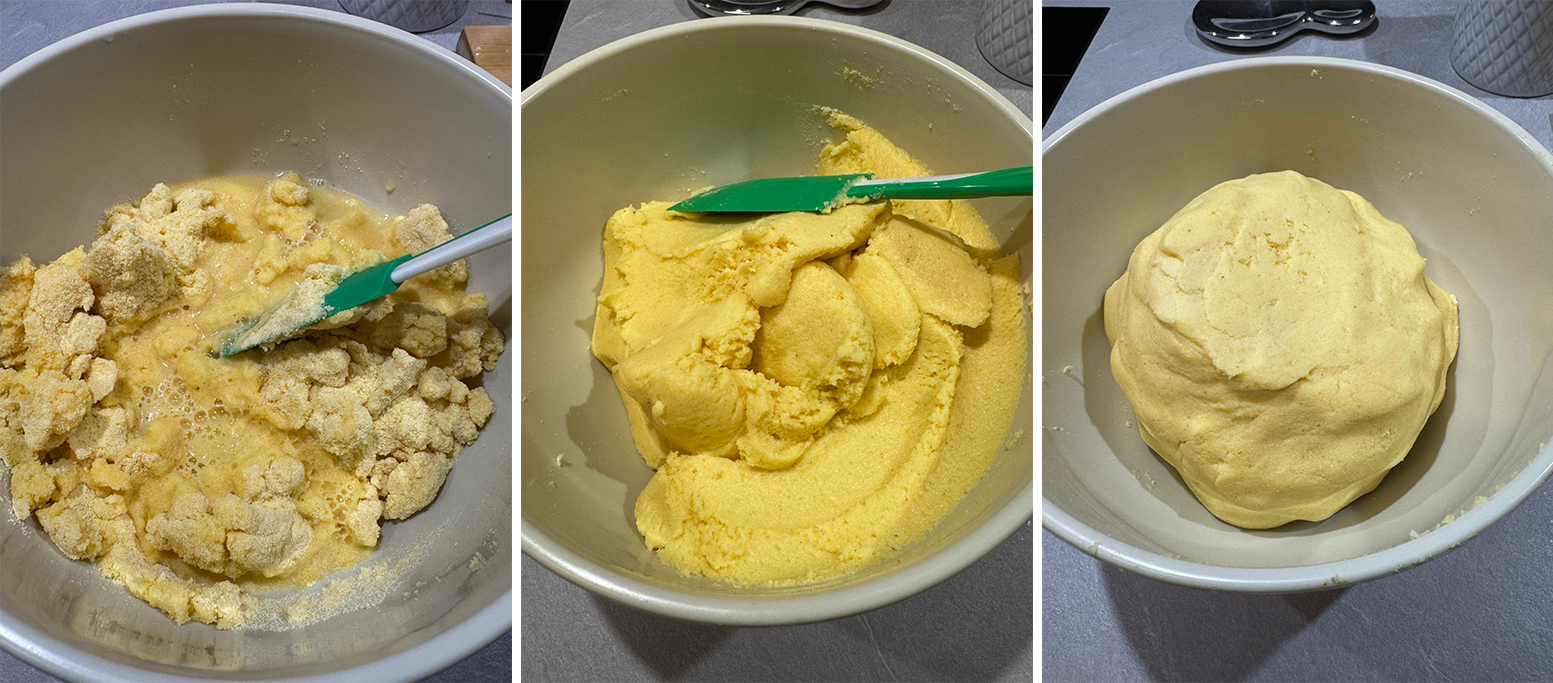
- Knead thoroughly until you reach a smooth, uniform dough that feels moist and slightly sticky to the touch.
- Divide the dough and roll it into smooth balls with about 5.5 cm diameter (sized between a golf ball and a tennis ball). Keep both your hands moist while working the dough to prevent cracks and sticking.
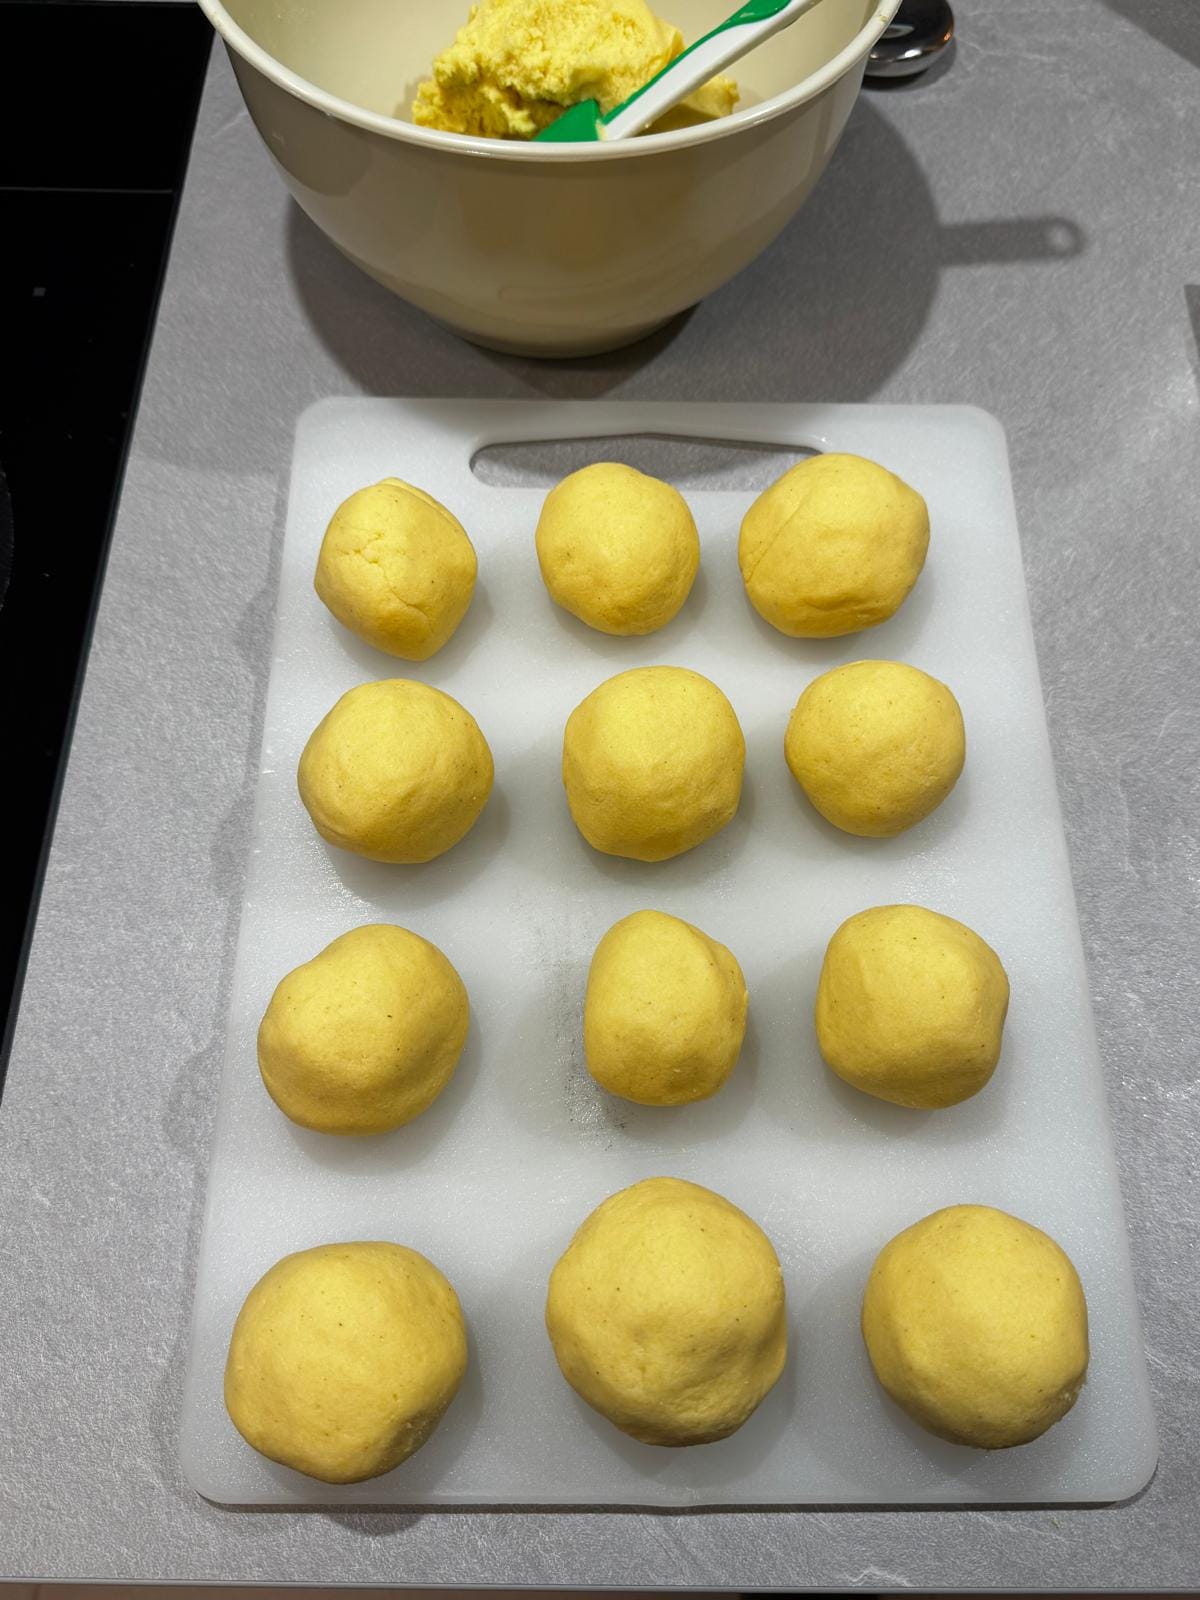
You can safely set aside while you complete the recipe and then continue on when ready to cook.
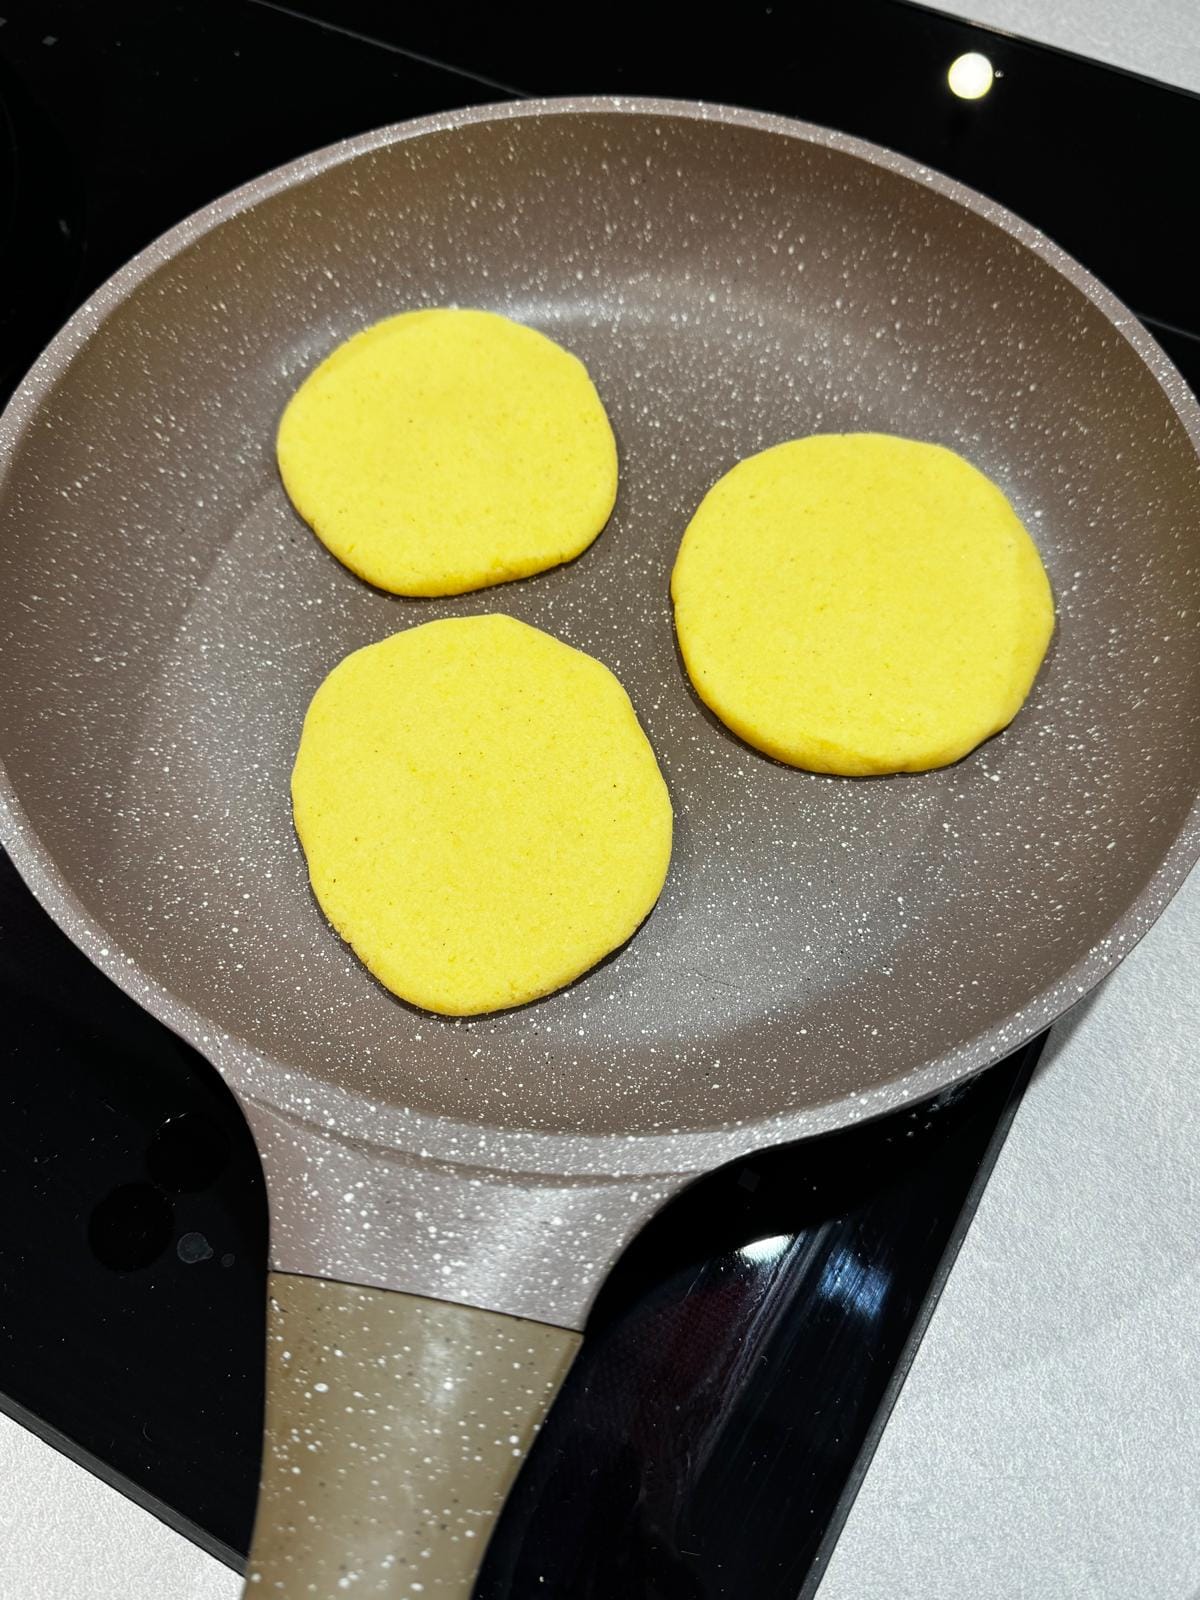
- Gently press each ball between your damp palms to flatten it into a disc. As you shape arepas, use wet fingers to smooth around the edges—keeping the dough moist ensures the edges remain smooth and free of cracks.
- Place the arepas in a pre-heated pan at a medium fire.
Different pans, same result: How-to
How mass interacts with the pan depends on which type of contact surface you cook with.
- Non-stick coating: not all non-stick pans guarantee a real non-stick performance, however, this is in general the easiest to handle and will give great results with minimal effort. The arepa will be safe to move even after a few seconds without using any oil. This is my recommendation for most people, and the choice I personally opt for.
- Stainless steel: it's the hardest but most controllable to handle. At first contact the mass will immediately stick to the pan surface. Be careful on how you place it and do not move it if you don't want to break it.
The arepa will be safe to move after a few minutes, when the first toasted spots (Maillard reaction) form on the contact surface and make the dough automatically unstick from the steel.
If you wait too long the toasted spot will turn into a black charred spot, that will irreversibly ruin your arepa. My advice here is to follow closely and, after a few minutes, gently test the contact surface with a spatula: if the arepa is still too sticky, then it needs more time cooking, otherwise you can flip it with a gentle motion. - Seasoned pans: natives would perhaps argue here that this is the only real way of cooking arepas. Seasoned pans develop a natural layer of polymerized fat that can logically yield perfect non-stick performances. However, in this case each pan has its story, and you'd really need to be specifically experienced with your tool. I have not tried yet to use a seasoned pan.
Preparation – Reina Pepiada
Shredded Chicken
- Cook the entire chicken breasts over medium-high heat in a shallow, unsalted chicken broth, allowing the water to evaporate while roasting the meat.
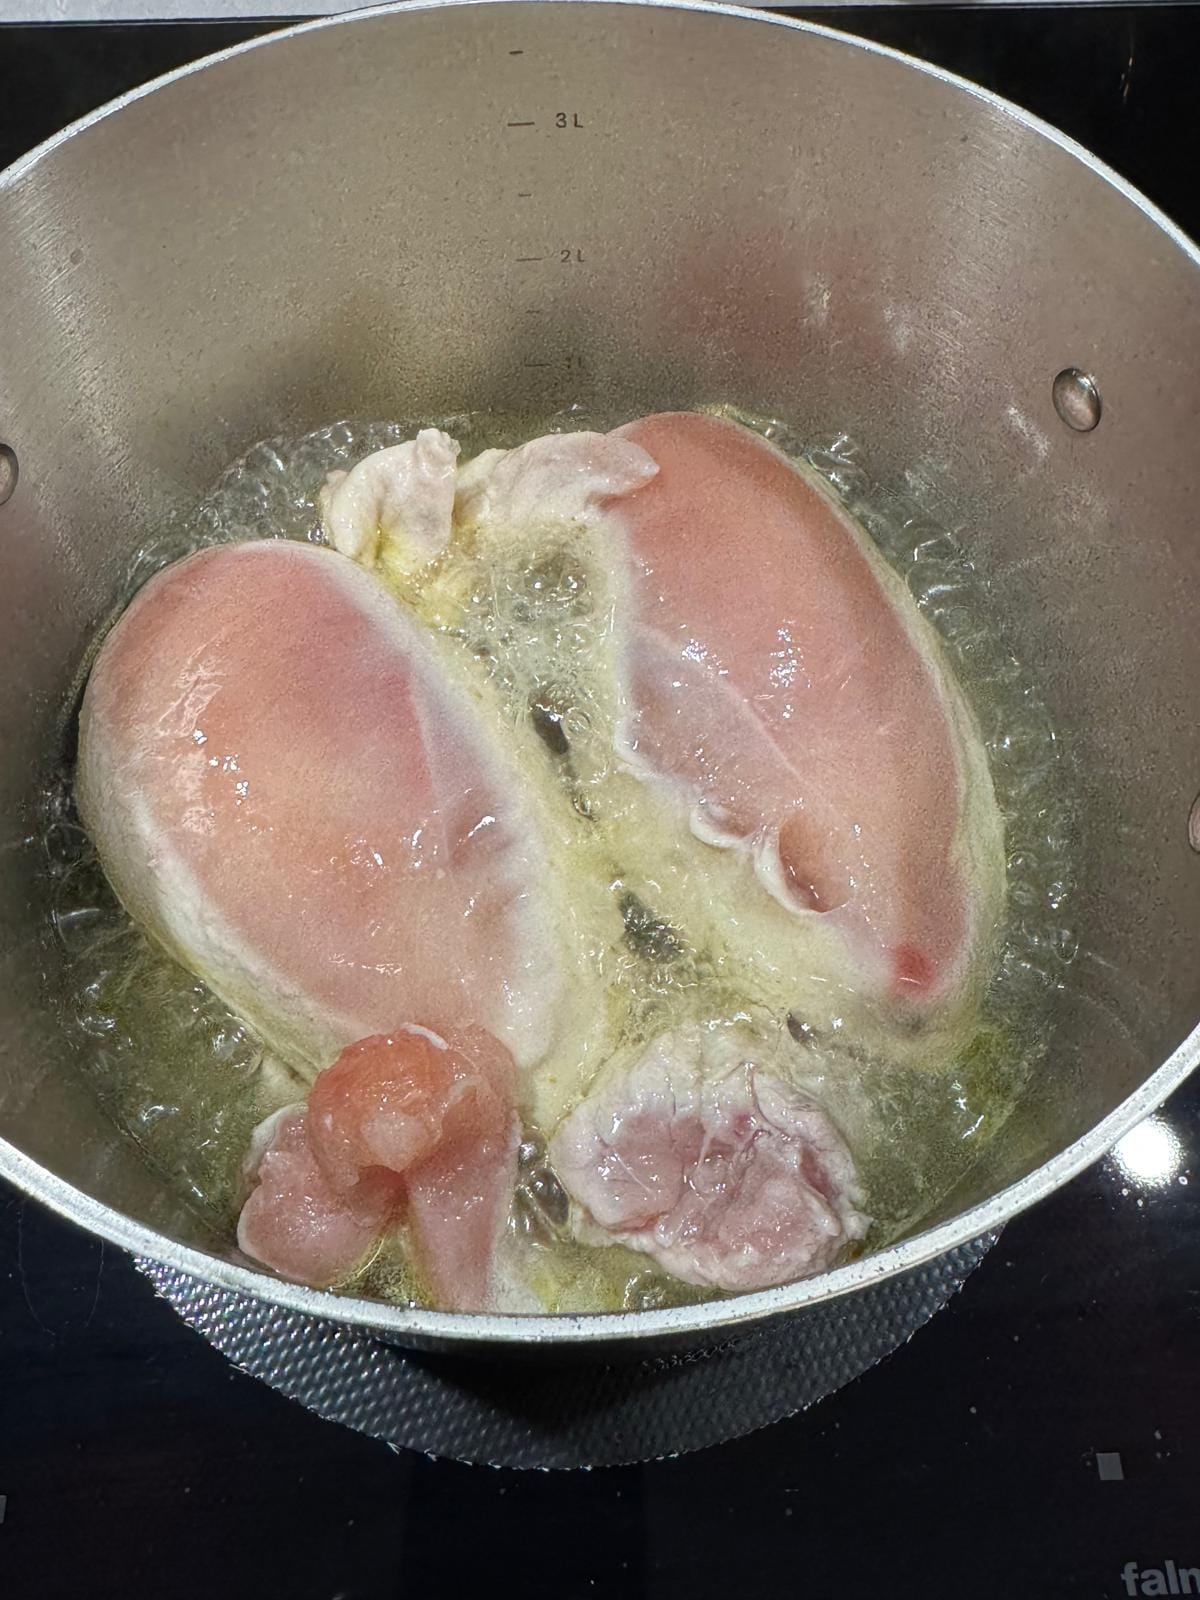
- As the chicken keeps cooking and the water level lowers, you want to wait until a brown layer of fats appears, stuck on the bottom of the pot (or pan). This is a desired effect, only possible when using stainless steel. At this point add ice to the pot, stir and let it deglaze the bottom, while melting. This step contributes crucially to deeper umami.
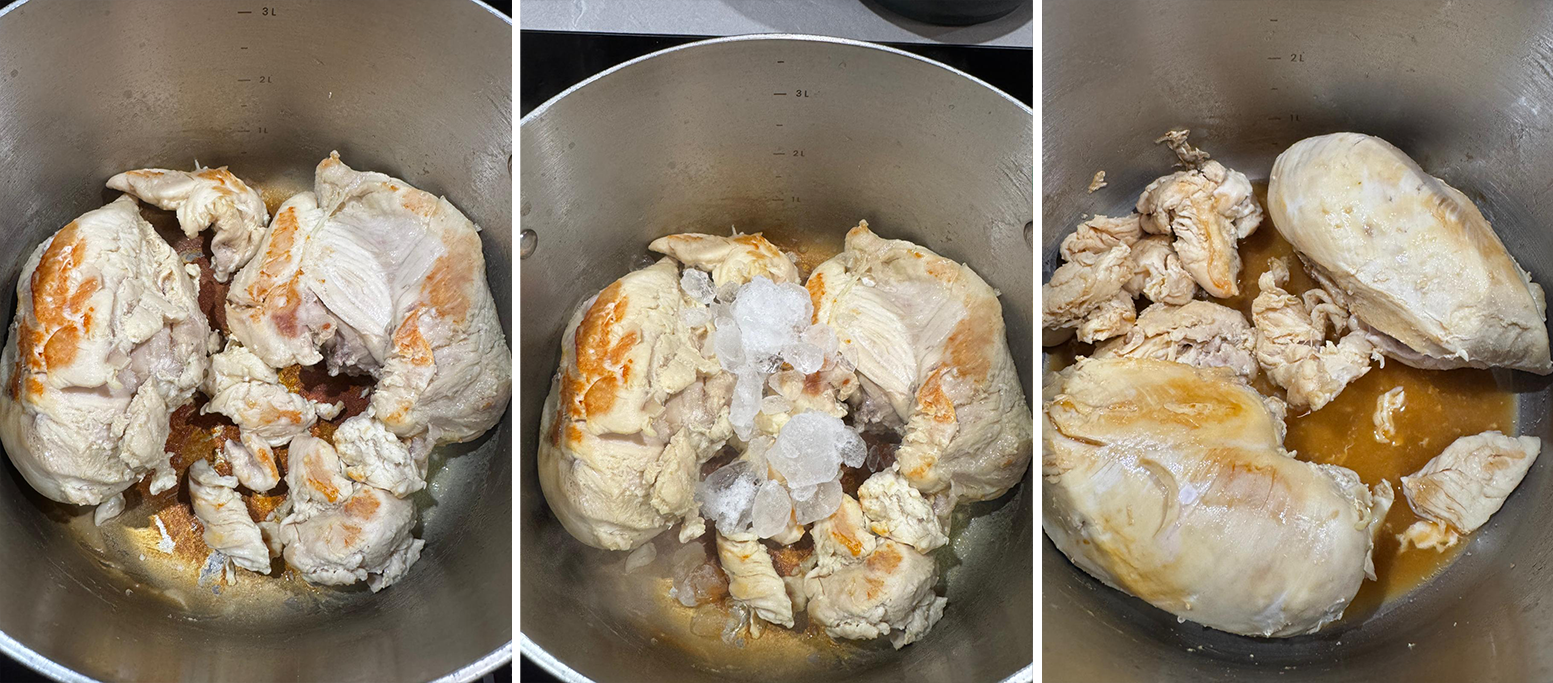
- Continue cooking with the lid closed at low fire until the core temperature of the chicken breast reaches 74 °C.
- Transfer the chicken into a bowl and pull the meat between two forks to shred it.
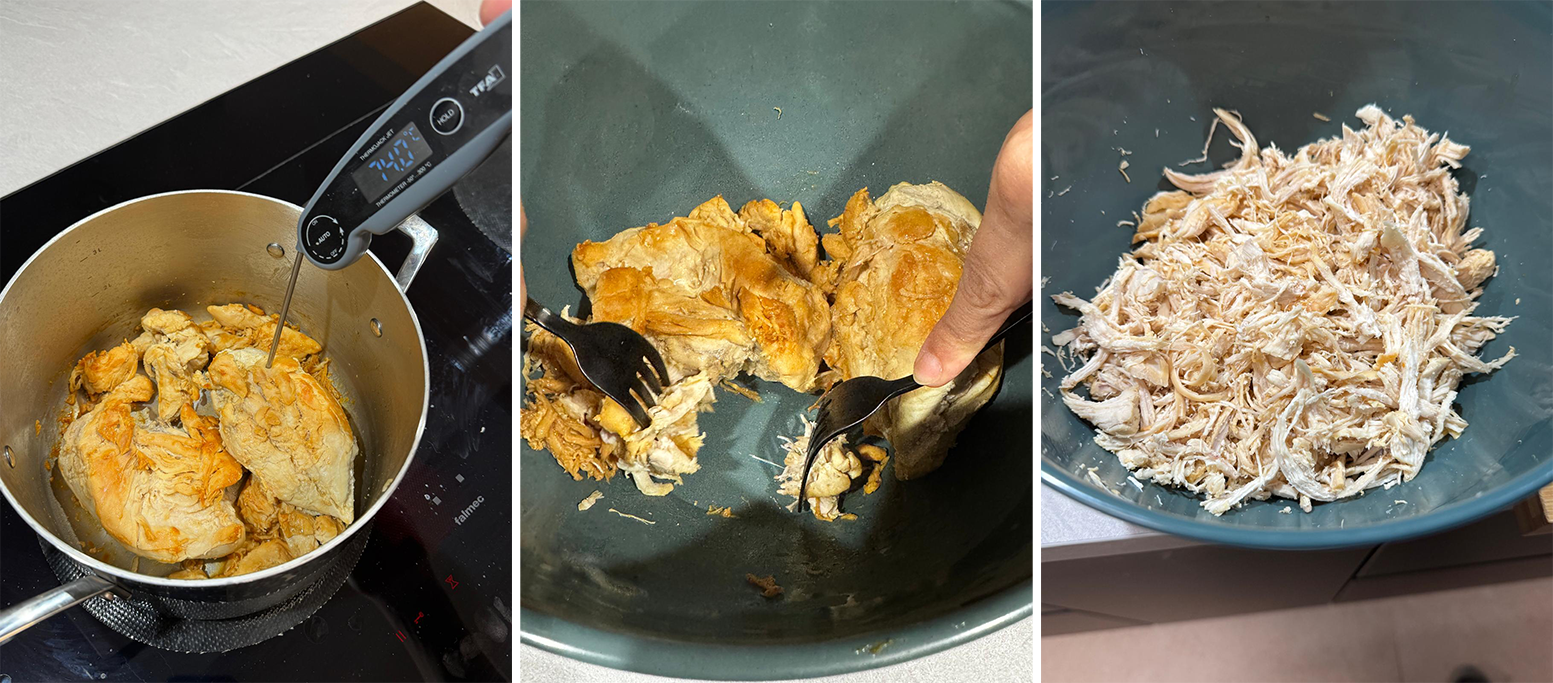
- Pour over the shredded chicken any remaining liquid residue from the pot (or pan) and mix it all.
Reina Pepiada
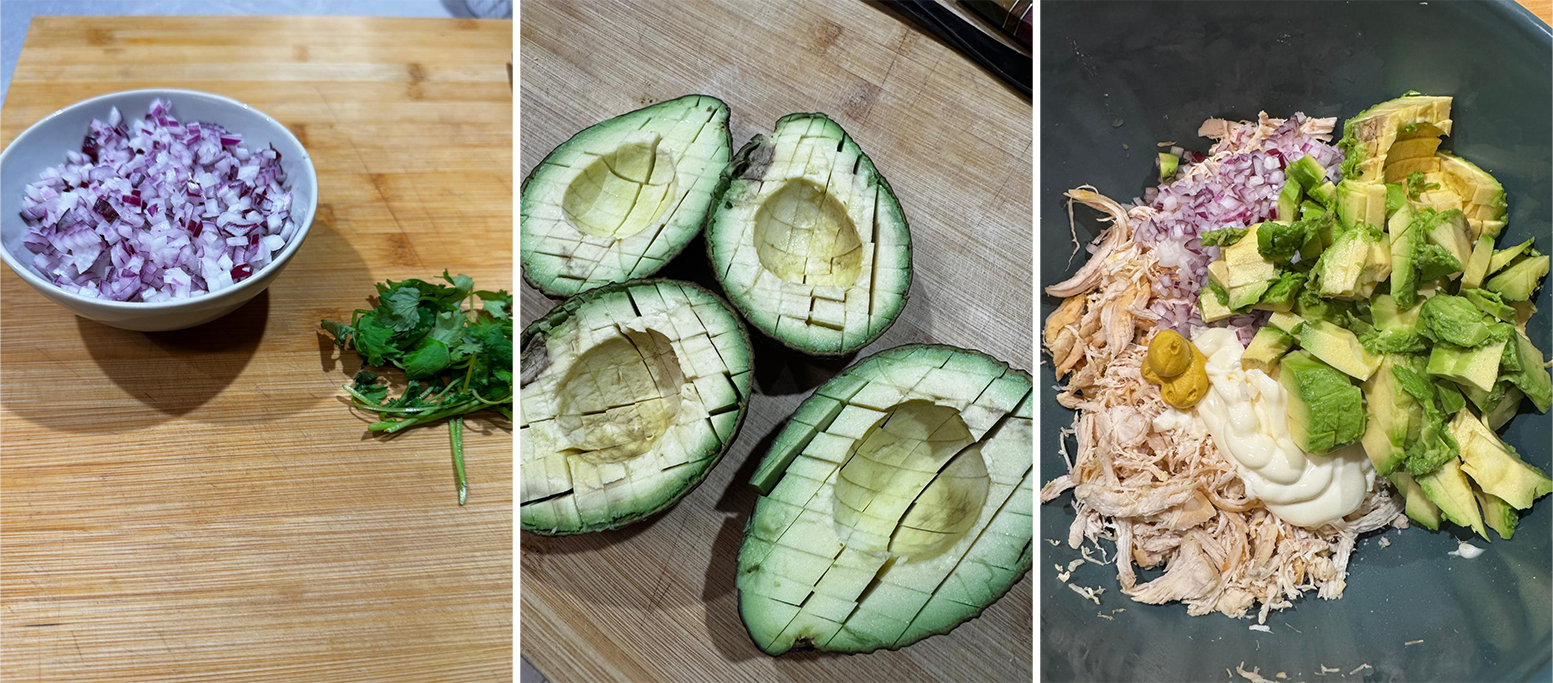
- Finely brunoise the Red Onion and add them to the shredded chicken
- Finely chop Coriander leaves and add them to the mix
- Peel and cut Avocados, then add them to the mix
- Add 5 tbsp of Mayonnaise and 1 tsp of Mustard to the mix
- Squeeze half a lime's juice into the mix
- Mash the avocado together with the mix to get a smooth, creamy texture
- Add salt to taste and mix everything
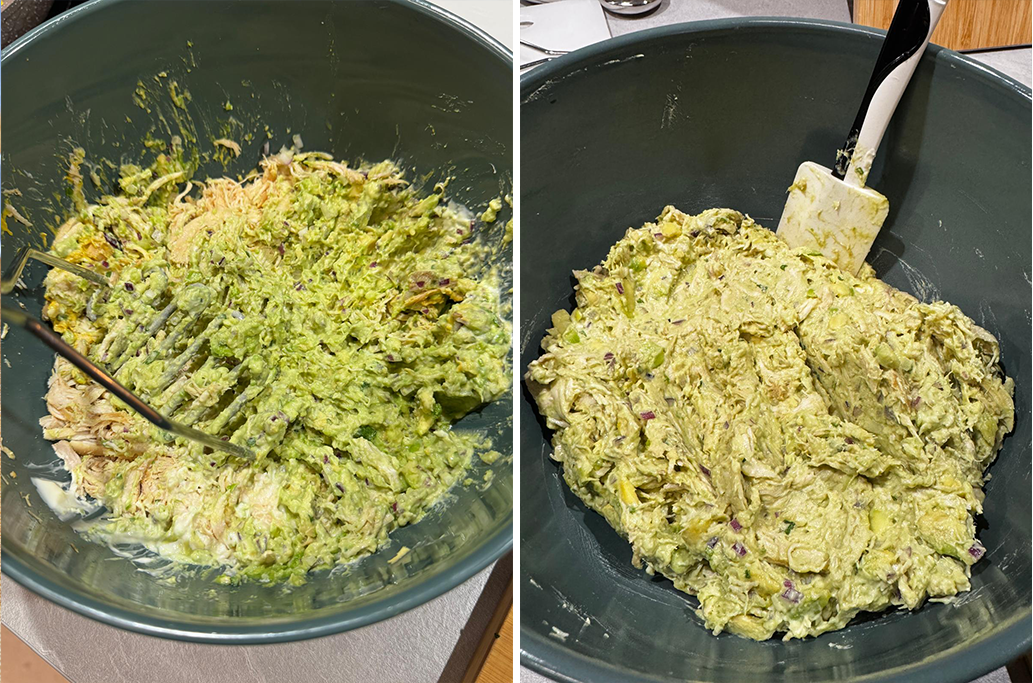
Serve the Reina Pepiada in a bowl, and the arepas on a tray. Optionally provide some hot chili sauce for those who like spicy food (for me it would not be the same without this touch).
Let everyone slice through their arepa and stuff it. That's only half the joy of this meal!